Most homeowners have never watched a chimney inspection happen, which is exactly how vague, theatrical versions of the service survive. Here is the real sequence, step by step, so you can compare any company's process — including ours — against it.
Step 1: The history interview
A good inspection starts with questions, not equipment. How old is the chimney? What burns in it, and how often? When was it last swept, last inspected, last repaired? Any smoke smell, water stains, animals, or a chimney fire in its past — including one before you owned the house? Any appliance changes? Your answers direct the camera's attention and explain half of what it finds. A company that skips the interview is inspecting a generic chimney, not yours.
Step 2: The interior assessment
From inside the home: the firebox is examined — brick and mortar condition, or the refractory panels in a prefab unit, looking for cracks, spalling and joint loss. The damper is operated and inspected: does it open fully, close fully, seal? The smoke shelf behind it is checked for the debris load it collects. A flashlight and mirror give the first look up the flue, and creosote is assessed — how much, and which of the three stages it has reached. If the inspection is paired with a sweep (our standing special does this), the flue is cleaned first, because a camera reads a clean flue far better than a coated one.
Step 3: The camera run
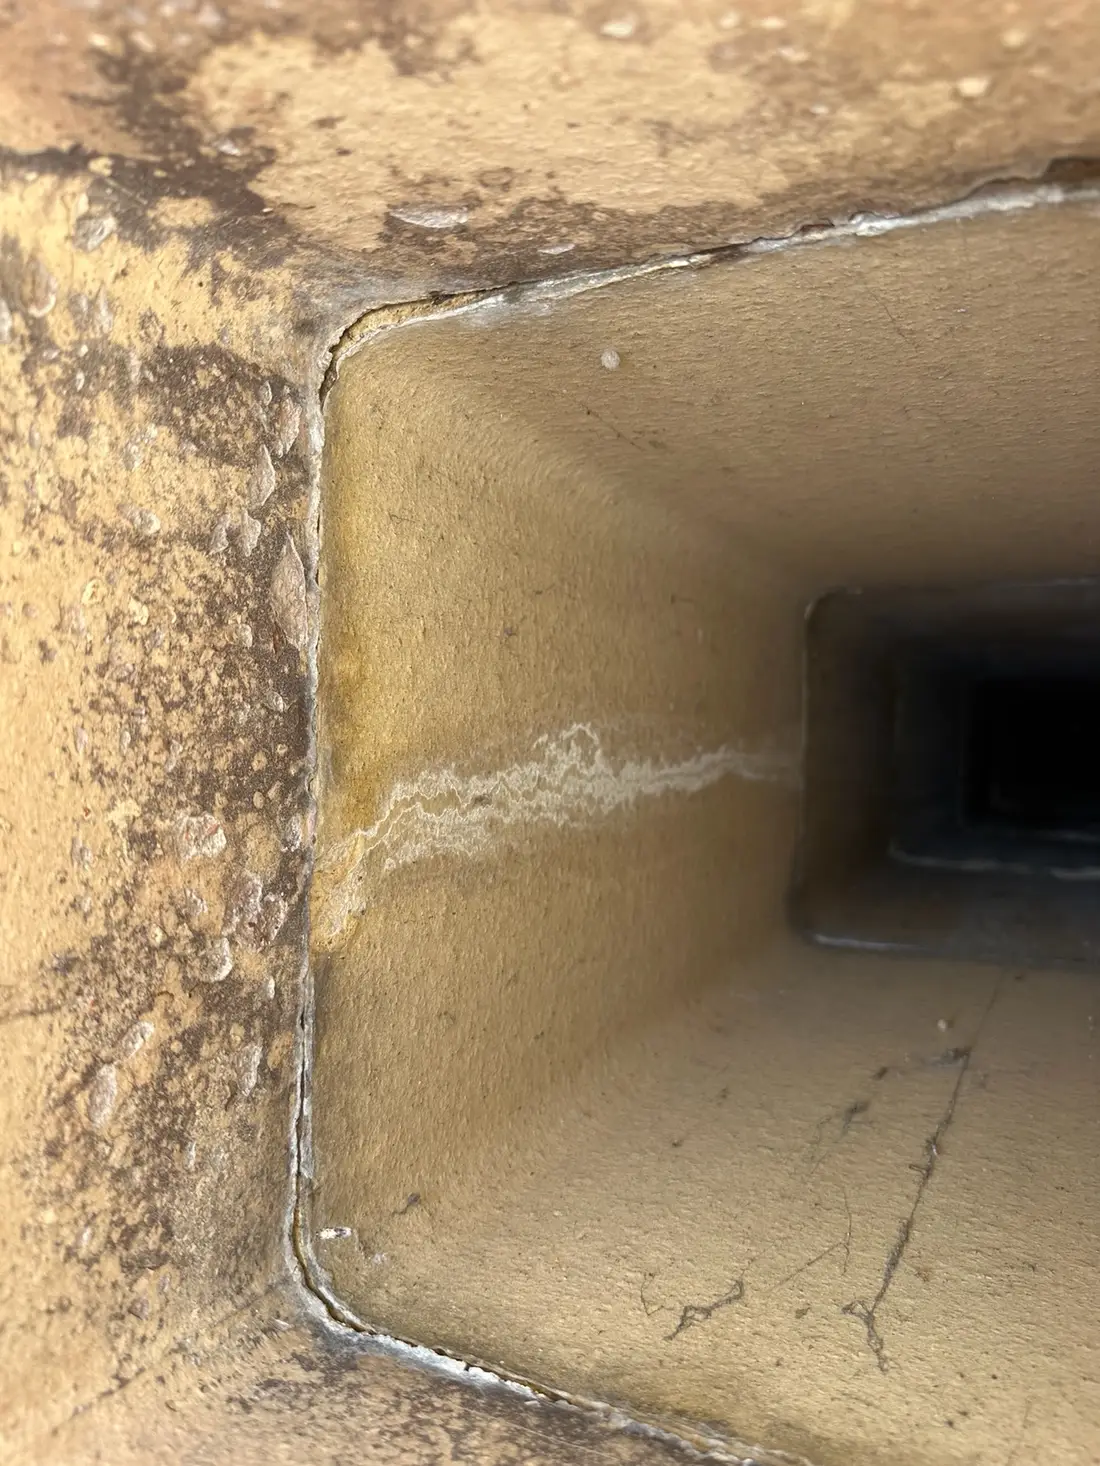
The heart of the visit. A purpose-built chimney camera — a lit, rotating head on a rod system, feeding a screen and recording — travels the full flue, bottom to top and back. The inspector reads the footage as it comes: tile by tile, joint by joint. What the camera is hunting: cracked or split flue tiles; mortar joints between tiles eroded open; tiles offset at their joints; heavy or glazed creosote; blockages — nests, fallen debris, a collapsed section; and, in metal flues, corrosion and seam separation. You watch the same screen. Nothing about the findings will later need to be taken on faith, which is rather the point.
Step 4: The rooftop assessment
From the roof: the cap — present? stainless or rusting through? mesh intact? — and the crown, checked for the cracking and slope failures that admit water. The masonry is read course by course: mortar joints (sound, or recessed and sandy?), brick faces (whole, or spalling?), any lean or step-cracking that signals structural movement. The flashing where chimney meets roof gets hands-on attention, because that joint is the source of a large share of leaks blamed on everything else. On prefab chimneys: the chase cover — the metal lid — is checked for rust-through and ponding, the failure that rots a chase from the top down.
Step 5: The appliance and venting check
Where the chimney serves a furnace, boiler or water heater — or shares a structure with those flues — the connections are checked: is the appliance vented into the correct flue, is the connector sound, is there evidence of condensate damage or backdrafting (soot patterns at the draft hood tell that story)? Wood stove installations get a look at the connector pipe and its clearances. This step is the one most often skipped by sweep-only visits and the one that catches the quiet carbon-monoxide risks.
Step 6: The report — in writing, with the evidence
The visit ends with findings, not a pitch. You receive a written report: each part of the system, its condition, the photographs and footage stills that matter, and recommendations sorted honestly — safety items first, then maintenance, then observations. Anything quoted is quoted in writing, from measurements, valid beyond the doorstep. Take it to another professional if you want a second opinion; a real inspection report is written to survive one. If the report is clean — and many are — you have something genuinely useful: documented condition, for your records, your insurer, or the person who buys your home next.
How long, and what it costs you in effort
A thorough inspection takes most of an hour; paired with a sweep, plan on ninety minutes. Your preparation is minimal: a cold fireplace (no fire for 24 hours), a clear hearth, and access to any attic or basement points where the chimney passes. That is the entire transaction — an hour of evidence, in exchange for knowing the true state of the one system in your home that combines fire, exhaust and weather in a brick tower. It is, most homeowners tell us afterward, the first time the chimney has ever made sense to them.